 Re: Painting the Grizzly
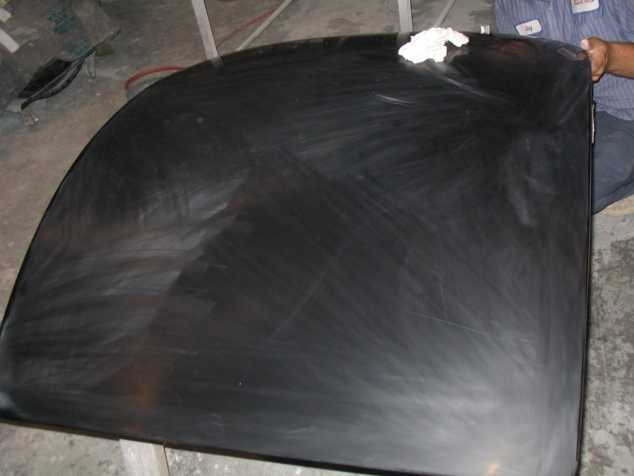
Hey bear if your gonna use the bedliner on the sides a quick rough up with a green scrubbie pad is fine. Bed liner is very forgiving. For the red use the block shown above with the wet dry as you daddy said. Then a nice even coat of primer (use the ruddy brown best for red) then clear coat or if you have the cash get paint with the clear mixed into it . This will actually save you in the long run and give a deeper look to the paint.
Aint got no whistle, don't belch out smoke, but my V10 aint no joke !!!


). Hope yall can help me on this want to start gettin everything ready for the project.
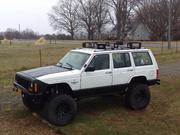
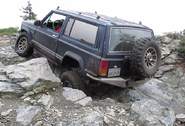
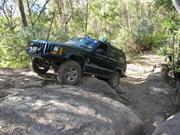
or this


 Reply With Quote
 2004 4.7v8HO WJ OMG, it's RED , Green bits are now under the hood. Loving the F/R Lockers and D44's. RIP 2011 Lil Ric and Gordo. RIP 2012 Jessie RIP 2013 Kat. RIP 2013 Ed . Lizards can always climb but sometimes they loose their tails to get away. The true patriot will stand beside the soldier when the time comes to fight Now building Asnikiye heca (Buzzard's Roost) homestead farm. My road is my wheeling trail


 2.50 can of rustoleum paint from home depot


Bookmarks