


Here are a couple of worthwhile mods I didn't see:
1. Replace the Steering Gear Box with a Quicker Ratio ZJ Box. The stock XJ/MJ steering ratio is steering 14:1, 3.5 turns lock-to-lock. The 93-98 Jeep ZJ (all models) stock ratio is 12.7:1, 3.1 turns lock-to-lock. It doesn't sound like much, but it's immediately very noticeable and a big improvement on the highway. Direct bolt-in after swapping the Pitman arms.
2. 1997+ Windshield Wiper Upgrade. My wiper arms were shot, so instead of replacing them with the old pin style I got a pair of the newer 1997 and up XJ arms. They use the newer design J-hook system to fasten the wiper blade. It's a much more solid connection that holds the blade firmly with no shuttering like in the old wobbly pin style. Since the windshields and wiper motors are the same throughout the XJ/MJ years everything fit perfectly. And because of the difference in shape between the old and new arms, an added bonus for me is that my cowl hood now opens about 3" higher w/o contact on the wiper arm tower as before. Good update when you replace the wiper arms.
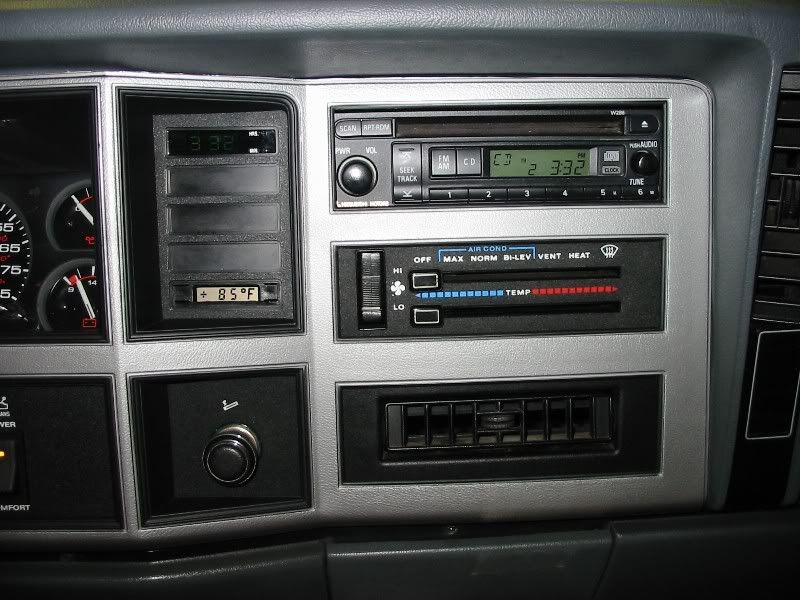
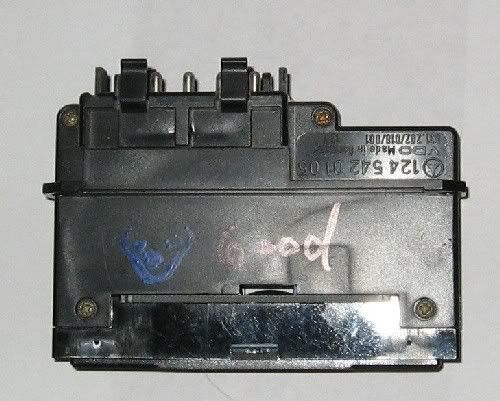
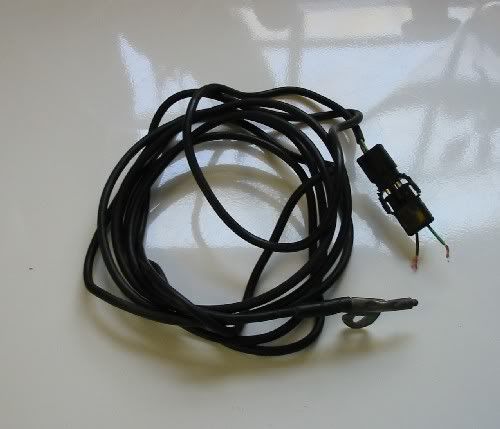
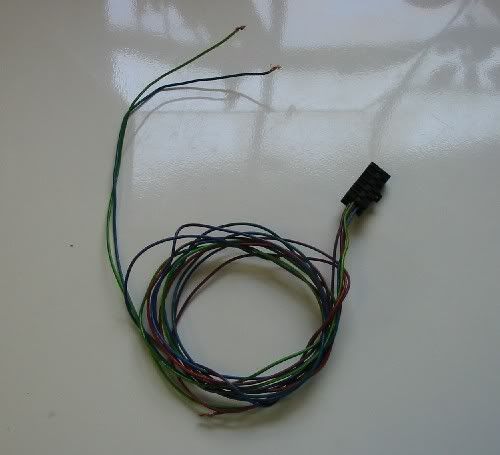
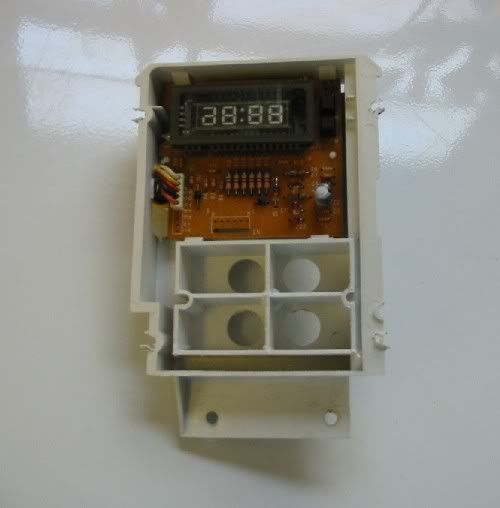
3: Mercedes Ambient Temperature Display in an XJ/MJ: Here's a quick writeup for the Benz temp indicator install in the 1991 XJ/MJ clock. The parts I used were an ambient temperature display module from a W124 series Mercedes Benz (from Ebay, part number 124 542 0105), and the module and temp sensor wiring harnesses -30 on Ebay.
Remove the plastic case from the temp module as it sits too deep behind the clock. Four screws and it slides right off. Then remove the top cover lens assembly from the clock. Carefully use a sharp utility to cut the plastic pins that hold the face on. The 1991 clock is the only clock that has sufficient space to mount things like this. Check GoJeep's site in the clock section for some info I sent him regarding the 1991 clock.
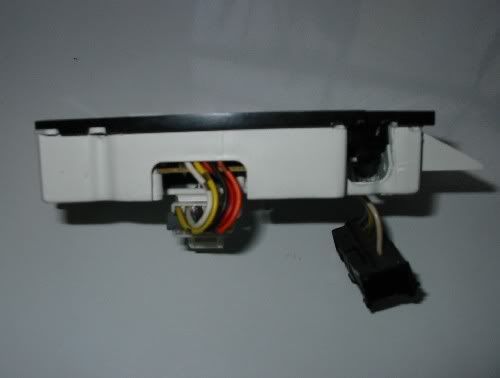
Next break out the Dremel tool and start trimming. I had to cut a hole in the back for the module harness connector, and trim down then trim down the edges of LCD display to fit into the lower slot in the clock. After everything fits and clears okay, mount the LCD display (I used Liquid Steel and clamped it in to set overnight).
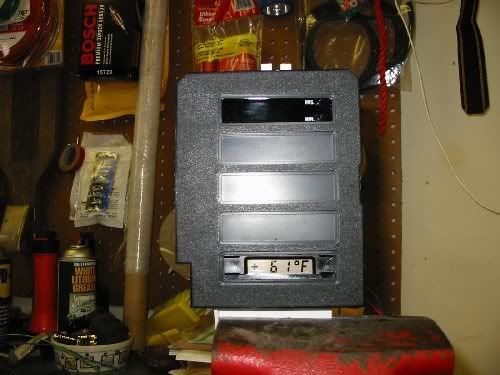
Replace the clock face by "welding" it back on. Lightly touching the pin holes with a low wattage soldering iron. Wire everything up and do a smoke test on the workbench.
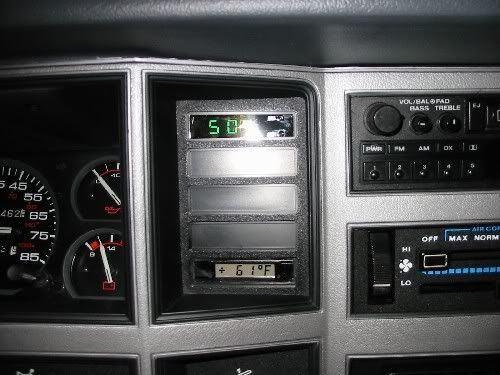
Ready to mount in the MJ! Mount the temp sensor under the front bumper, run the harness thru the firewall into the dash clock cavity, and hook everything up. I used the power, dimmer, and ground wires conveniently located on the cigar lighter. Finished!
4. New Mitsubishi CD Player Install: Well, the old cassette player finally went out on me, so I looked around for a single DIN CD/AM/FM replacement unit. Seems like all the aftermarket heads had the garish blue, purple, green, and red light displays which I hate. Also hate detachable faceplates. Found a used Mitsubishi head on Ebay (2003 Mitsubishi,
I have lots more cheap mods and will post when I have time.


 Reply With Quote
Bookmarks